
- May 30, 2022
- John Doe
- Toilet Installation
Are you worried about Smart Toilet installation? How to change your old toilet with a new one? If yes, you are at the right destination. Hitech Esmart provides complete information about How to install a self-toilet. Installing a New Toilet is a little bit hard, but pinky promises we will make this hard process easy for you.
Step-by-step Process of Install Self Toilet
Phase 1: Remove Used Toilet
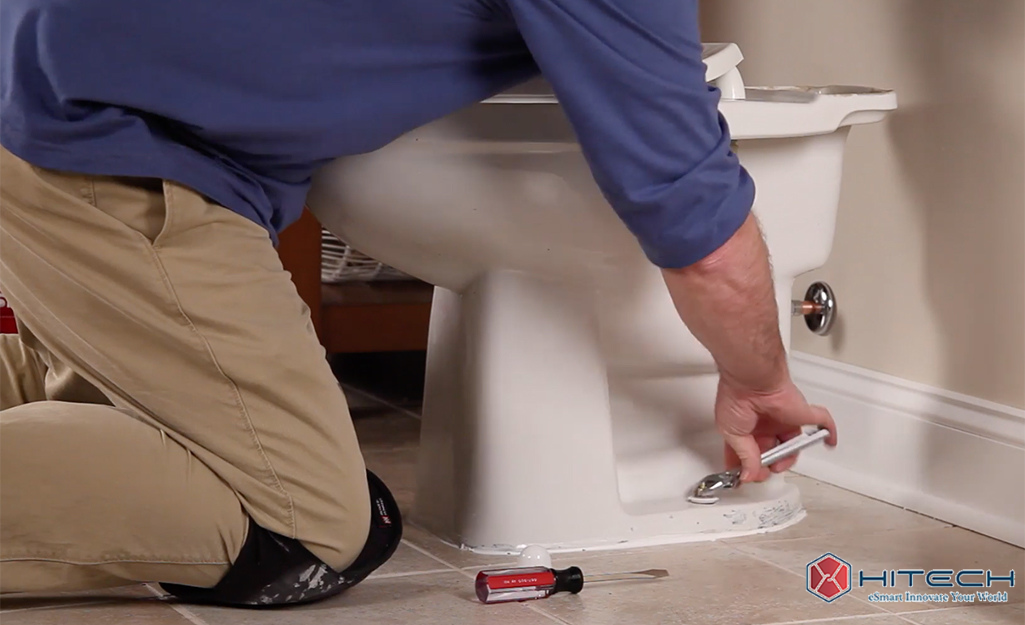
You should first get rid of the used toilet! First, stop the water using a shutoff valve to remove your old toilet — usually located on a wall or floor near the toilet and drain the water. After that, you can use a plunger to drain the remaining water.
Now remove the supply line with a removable screw. If your toilet tank can be detached from the bowl, remove it with the help of a removable screw.
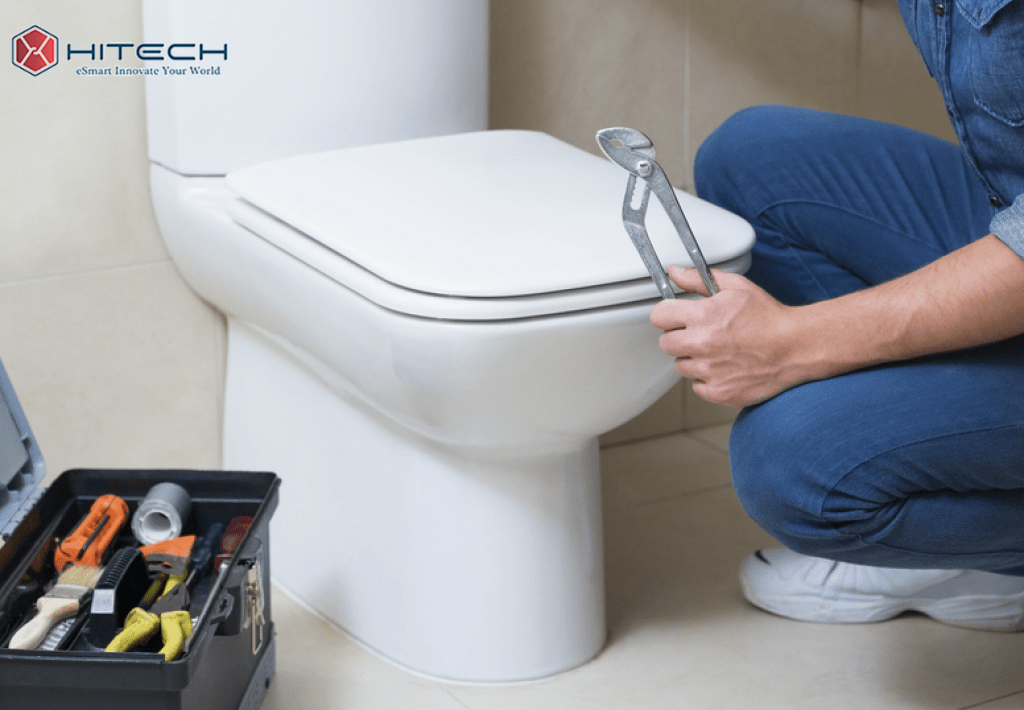
Lastly, swipe your toilet seat caps and use a pair of pliers or adjustable screws to clear the toilet base’s bolts. You are now ready to release the toilet base by pulling it straight up. Try to keep it straight to avoid spilling the residual water as you move it. Also, have sponges or towels nearby if possible 🙂
Phase 2: Install Self Toilet
Step 1:
Fill the rag into the bottom hole to prevent wild gases from entering your house. Before installing a new toilet, remove it.
Step 2:
Remove the old wax ring by using a putty knife. We recommend wearing gloves during this process because it’s so bad.
Step 3:
Then, bring a fine look at your flange (a piece that will connect the toilet to the floor). If it looks good and does not crack, you can move forward. BUT, you want to replace the old bolts with new ones that should come with your new bathroom.
If your flange is broken, there is no need to panic; use a flange repair ring. Just ensure it finds one that fits the existing floor flange. An easy way to do that is to take a picture of your floor flange before buying supplies.
If you do not find what you are looking for, show your picture to somebody in the plumbing branch, and they should be able to help you. Now you can use the flange repair ring for the existing flange and secure it. Before forwarding, change new bolts to hold the toilet in place.
Step 4:
Now, you can install your new wax ring. If your cement tile is thick, you use a thick wax ring. Fix the toilet bowl with foam mats and glue, and place the wax ring on the bottom of the toilet bowl. We prefer this one because before placing it, you can easily check whether the ring is in good condition.
Step 5:
The time has come! You can now set your clean toilet bowl on the flange. Align bolts holes on the flange perfectly. When in position, press down to set a mark. If it may break the wax mark, leading to a leak, be careful not to move or tilt the toilet. It’s not good.
Step 6:
Place the laundry and nuts in each toilet bowl bolt and tighten them. You can crack the porcelain if you overdo it. Use a hacksaw to reduce excess bowl bolts. You want to trim them short adequately so that the plastic bolts fit in place.
Step 7:
If your toilet is not a single item, attach your toilet tank to the bowl. Every toilet is a little different, but you will likely need to install a gasket “tank to bowl” and install tank bolts and washers from inside the tank. Align the bolts of your tank with the holes in the toilet bowl and sink your tank. Instead, then secure it by pulling the bolts.
Step 8:
The final step of smart toilet installation!!!! You will reattach your water supply line. After doing so, check the toilet for leaks by slightly opening the water valve and filling the tank. Then wash your toilet and check where your tank and bowl meet and where the toilet meets the floor to check if there are any leaks.
Step 9:
Now install a self toilet seat. There are so many different ones, we will not try to tell you how to install yours, but they are very easy to install and should come with their guidance.
Step 10:
The last step is to clean the toilet when it is moving and install it. If the toilet is strong and durable and you do not move, you are in good shape. If it moves slowly, use a plastic toilet that shines on the floor until the movement is resolved. You can use a utility knife to cut out moving fields with your toilet base.
Final Thoughts
Before moving forward and getting started, check out our easy guides that will help you design your favorite places! We ensure this step-by-step process is really helpful for you. Now you can easily do Smart Toilet Installation.
Or More Queries?
If you have any queries regarding Install self toilet, please contact us at abdullah@hitechfence.com. Our dedicated team is always available for your help.
Read More:
How Can We Improve the Design of Modern Public Restrooms?
15 Smart Toilets Technology Trends for 2022
No Comments